In case your device is about to be placed within an area with possible problematic or absolutely zero internet connection, it is best to set your manifest in a way that it can play offline content.
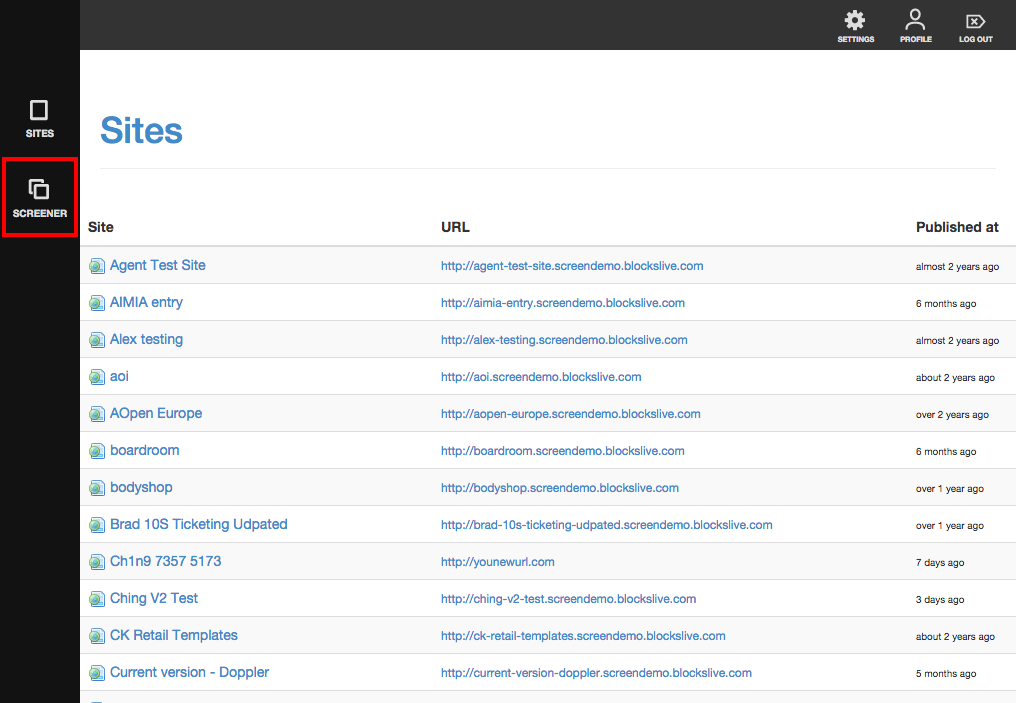
1. After logging in, click on [Screener] to begin managing your screen network.
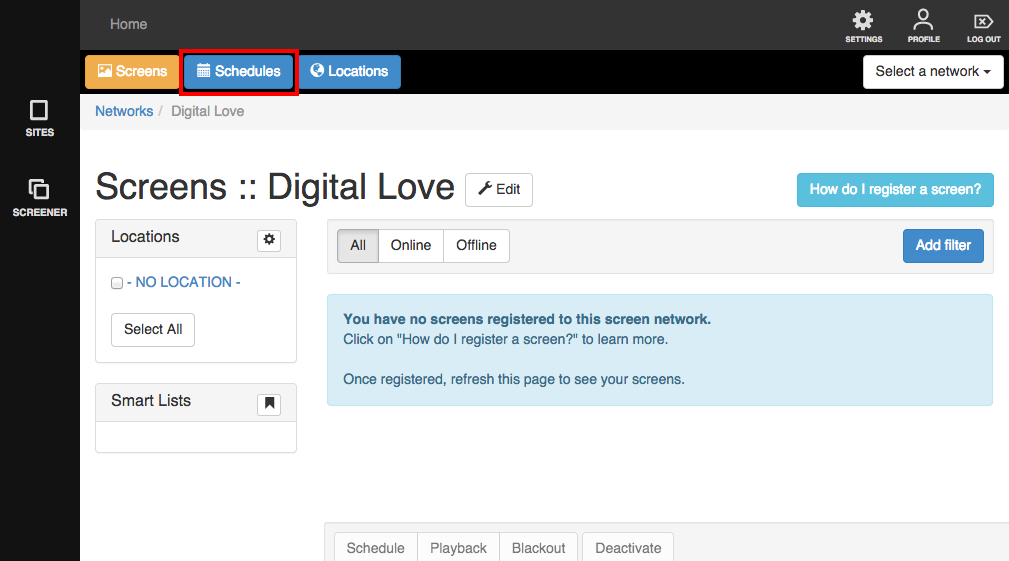
2. In the Screen Networks list, click on the name of your screen network.
3. Click on 'Schedules' to begin.
2. Click on '+ New Schedule'
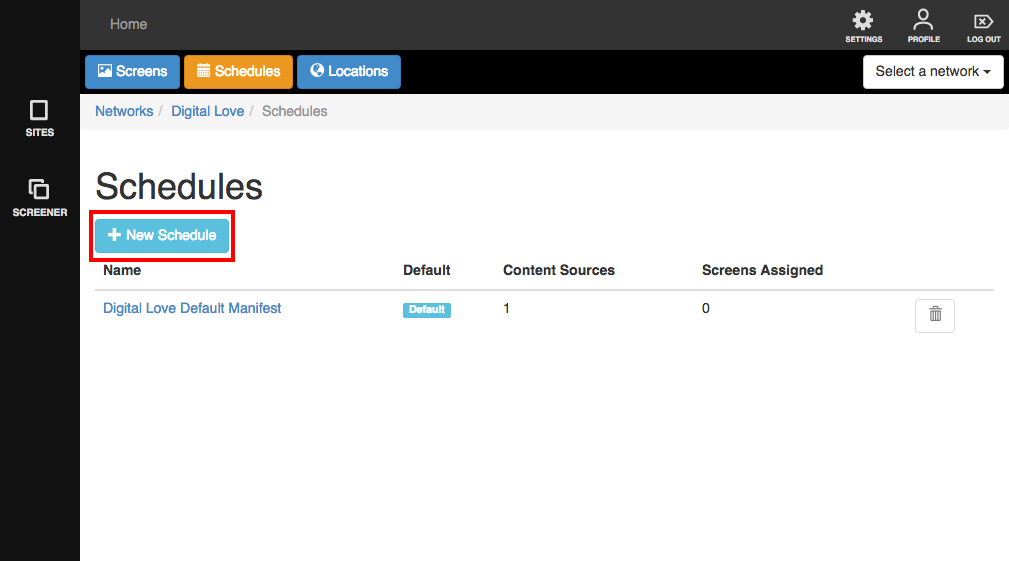
3. A lightbox will appear with fields you will need to fill up.
- Name - the name of your schedule. It would help to specify which content it plays and how it is different from your other schedules so you can easily spot it.
- Description - some other details that will help you easily identify your schedule
- Content Source - Choose Internal. If you choose 'Internal' you will a drop down menu will appear showing the names of Sites inside Screener. You can then choose which page to play first.

- Orientation - You also need to specify the orientation of your device. You can choose between Portrait, Landscape, Reverse Portrait, Reverse Landscape and Dynamic. This will depend on how your device was physically set up. You don't want your content upside down now do you? :)
- Timeout - How many seconds should your device be idle (meaning no interaction with your customers) before it goes back to its Start page?
- Color - is the colour of this content in your schedule.
- Play offline? - Make sure you tick this box
4. When you're all done, click "Save".
NB: You just have to make sure to load the entirety of the content using appropriate internet bandwidth before moving the device, so that the device will play your content seamlessly amidst bad connectivity.