A screen network is used to group your devices. Unless you have a lot of devices you'll probably only need one screen network.
If a network has not been set up for you, you need to create one before using your first device.
Adding a Screen Network is easy.
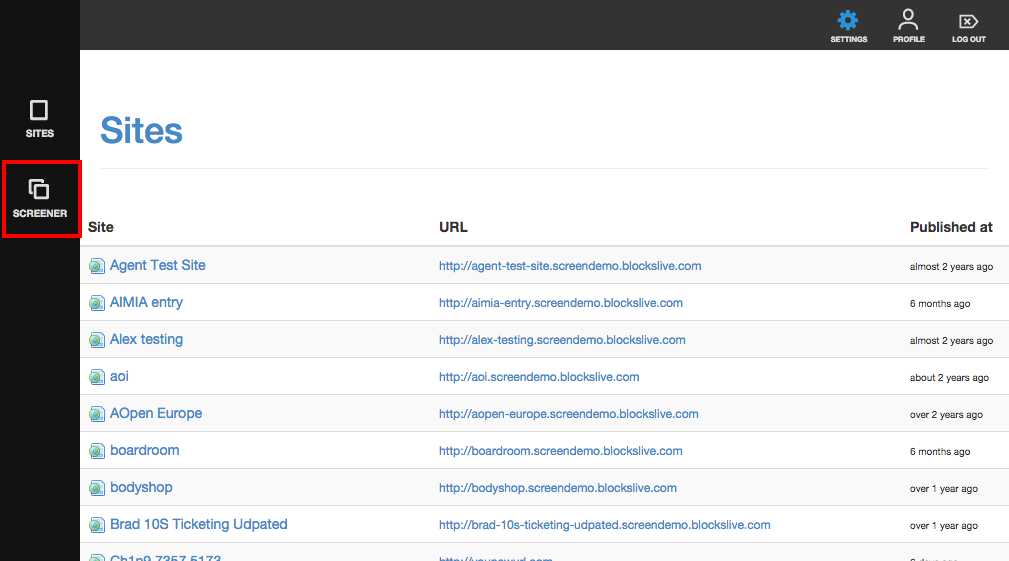
Once you're logged in to Screener, click on 'Screener' which can be found at the left side of the screen.
Then, click on the '+ New Screen Network' button.
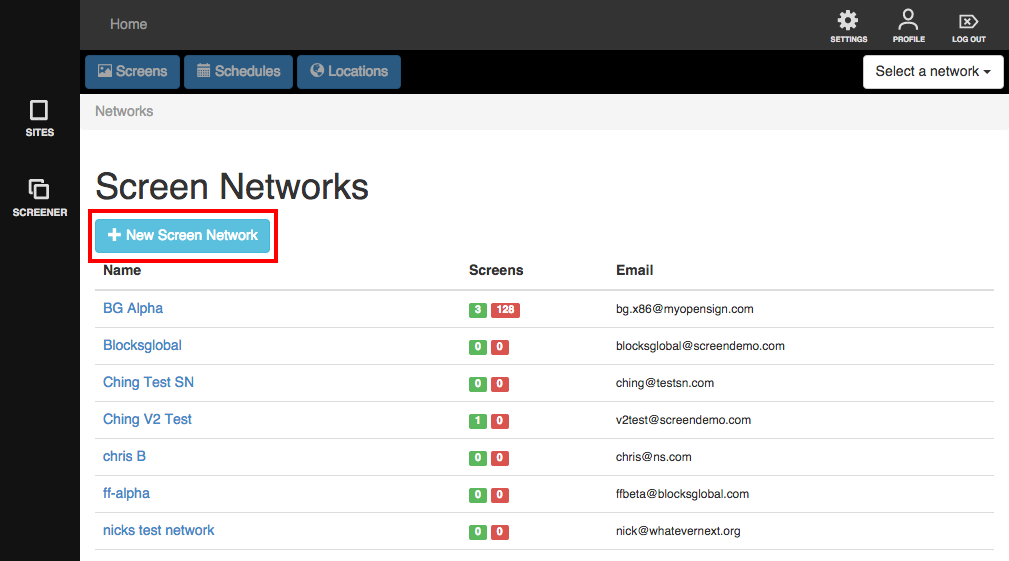
You will be directed to the 'Add screen network' page and asked to provide the following information:
- Name - Create a name for your screen network. It can be any name that is meaningful to you/your business.
- Email - Your email or an email address you wish to use for your screen network. The email you choose must be unique and not being used by other screen networks. This does not have to be a real email.
- Password - Set a password for your screen network.
- Time zone - Choose which country/state/city you belong to in order to set the correct time zone for your devices. This is very important.
- Check-in interval - tells the system how often it will check-in with your device, assuring that it has updated apps and the latest content.
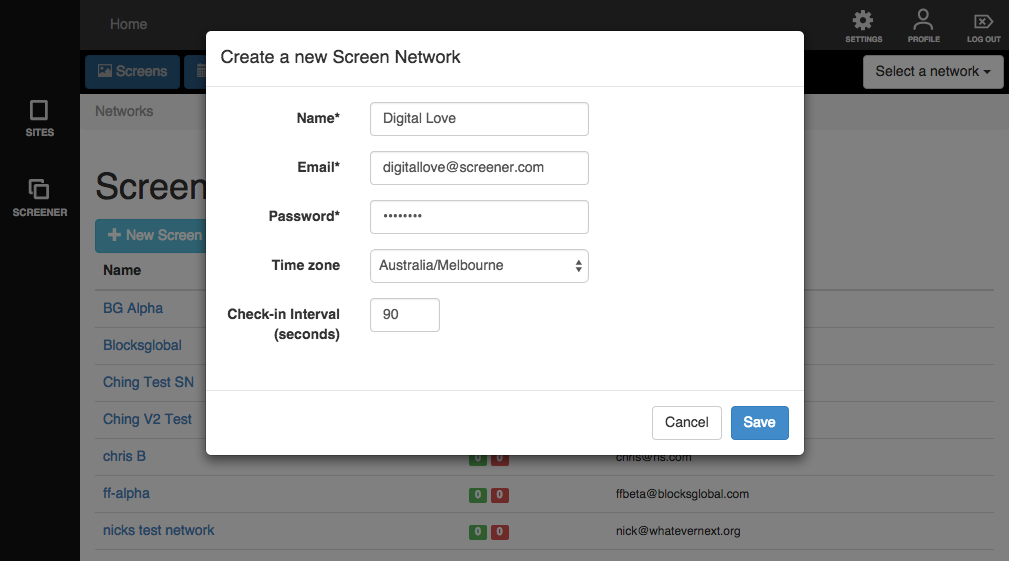
Once done, click 'Save'.
A notification will show that you've created your screen network and its name will show within the list of screen networks.
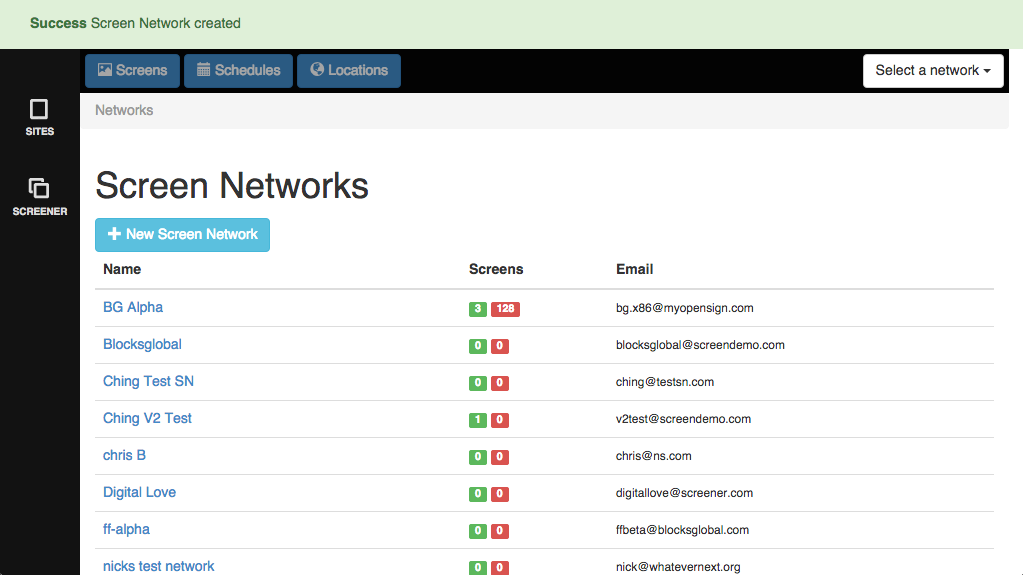
You have created your screen network! You may now use the registration details to register your devices and push content easily and quickly to each one.