Within email list management software programs there are certain fields that one may use to personalize each message. These custom fields allow our customers to import and store additional data aside from address, city, state, zip code, country, date of birth (which are already found in Publisher.)
With custom fields, you can add more data such as spouse’s name, dog’s name, product purchased, date of purchase, notes, or any other data. Custom fields require a name and a value. The name is constant, but the value can change with each post.
1. Click on the Project navigation tab.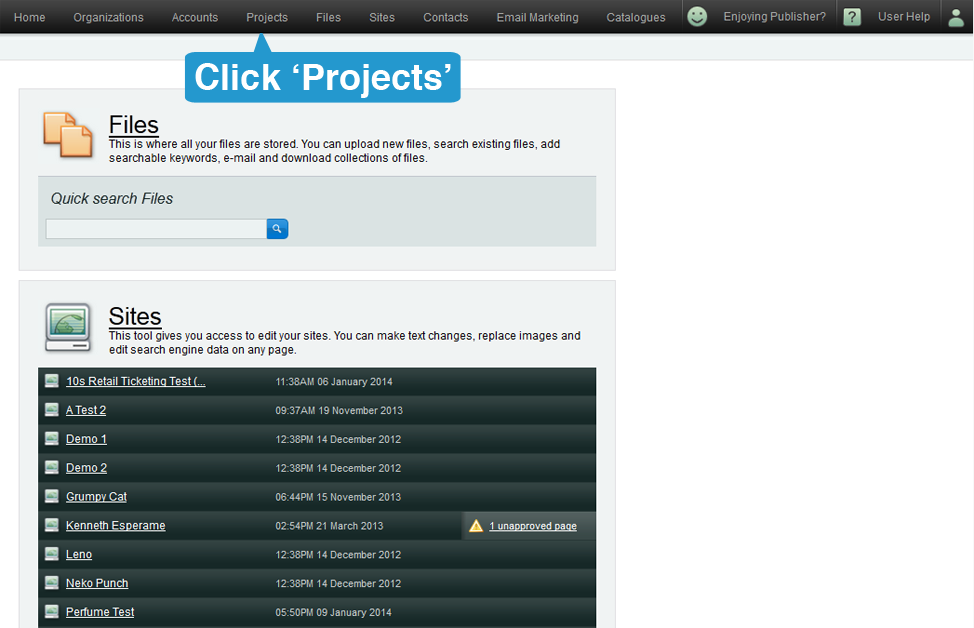
2. On the right hand side, under Settings, click on "Custom Field Groups" 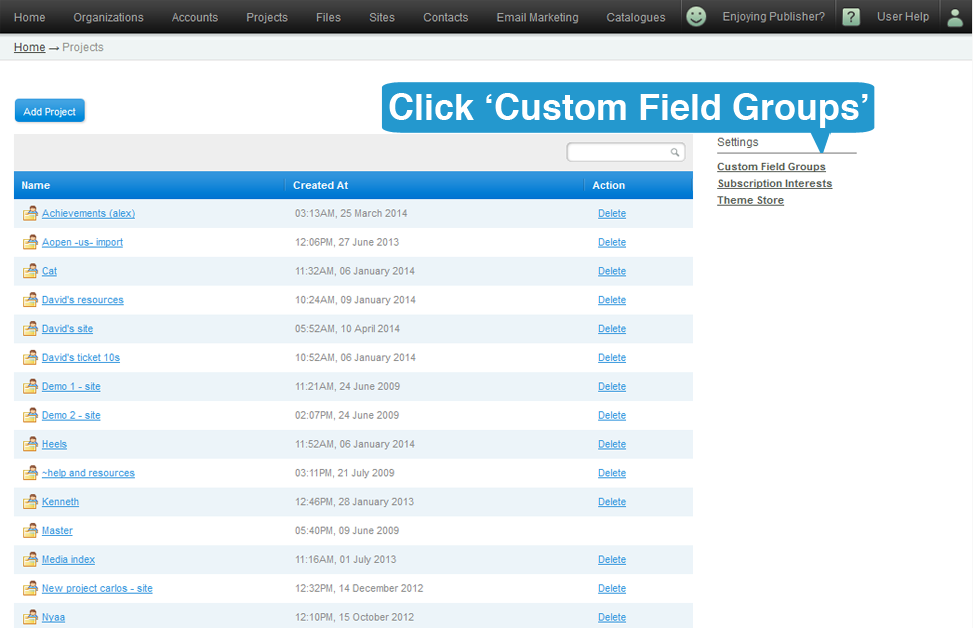
3. At this point, you can either:
A. Add a new custom field group by clicking the 'Add Custom Field Group' button or...
B. Choose an existing custom field group (Skip to step 6)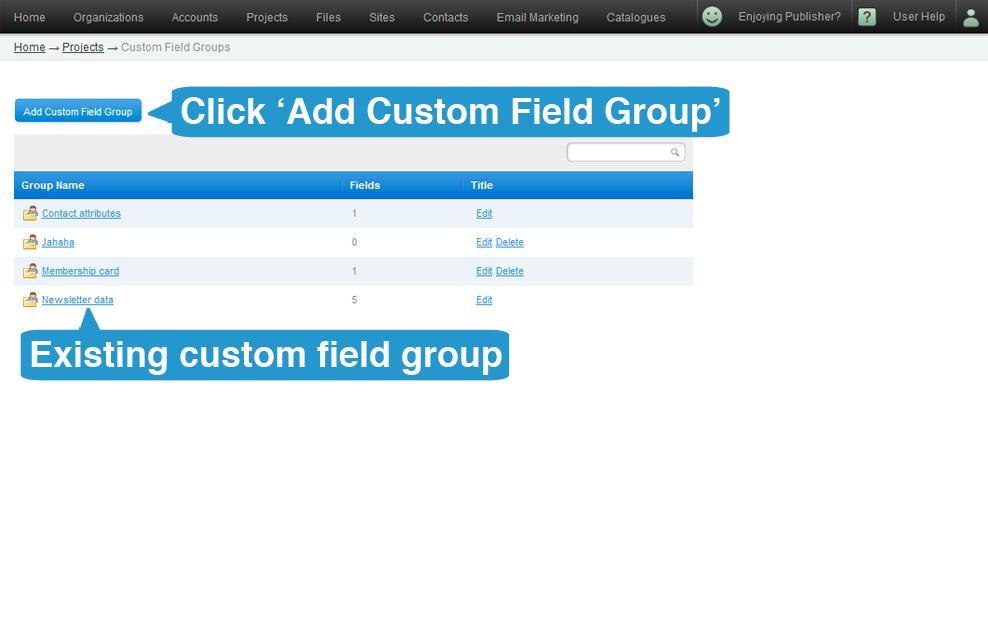
4. Input a name for your custom field group then click 'Next'.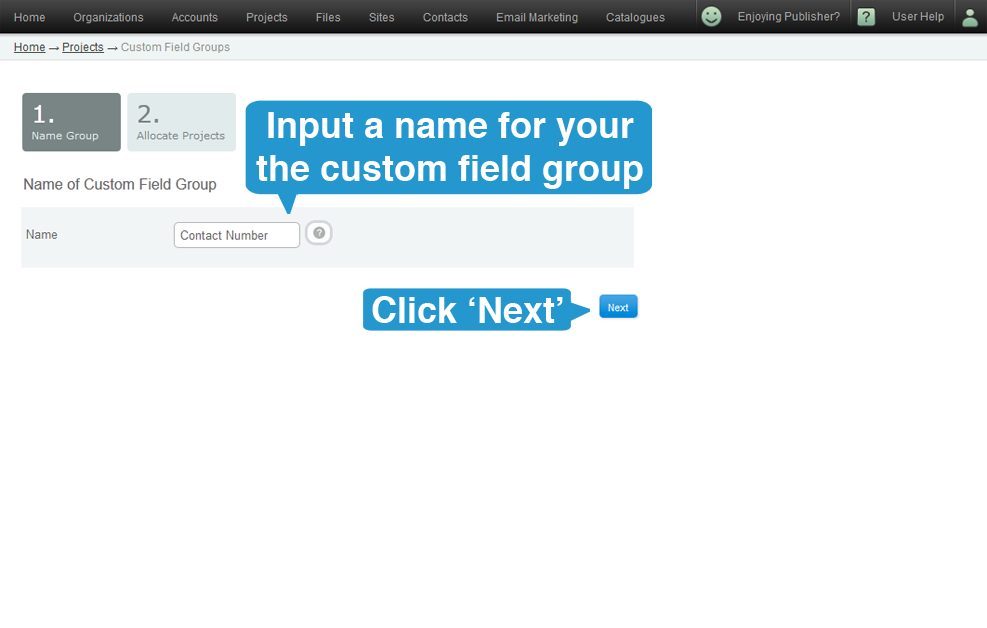
5. Allocate projects which will have access to the custom field group by dragging the project name to the left box. Click to 'Create Group' to continue.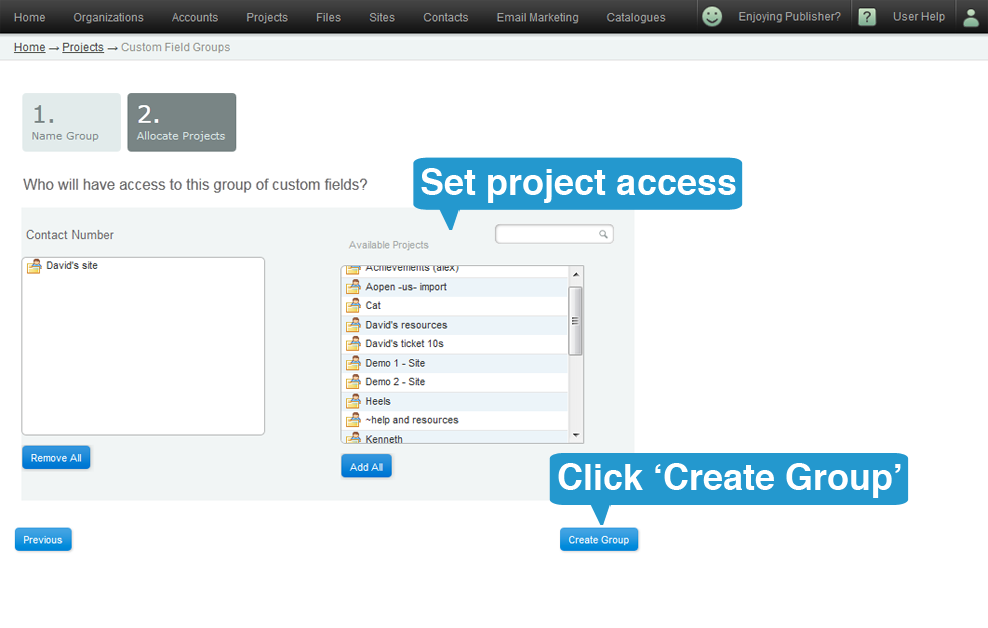
6. Select the custom field group where you want to place the custom field.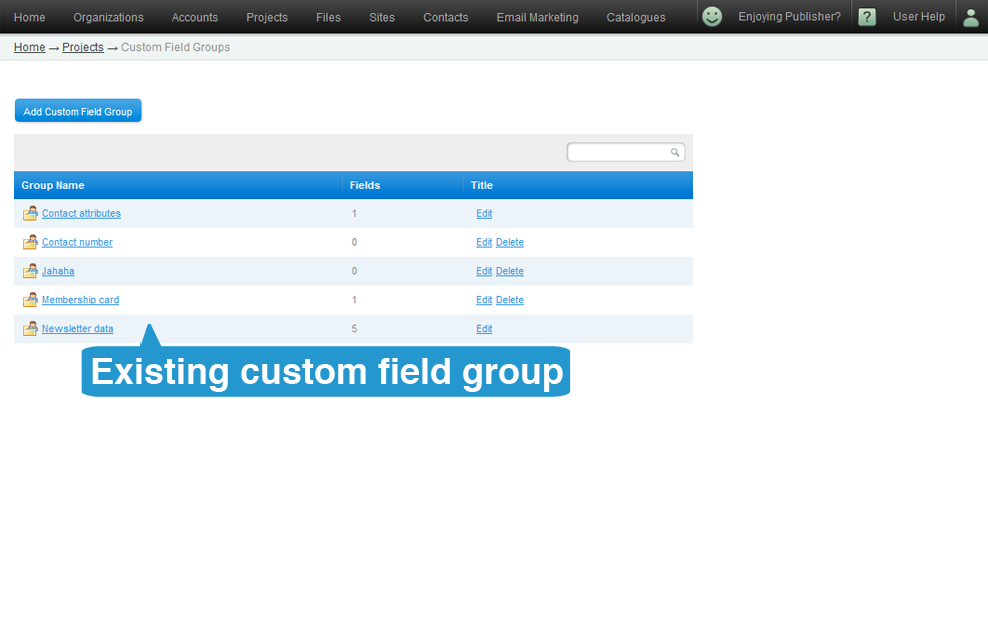
7. Click on the "Add Custom Field" button.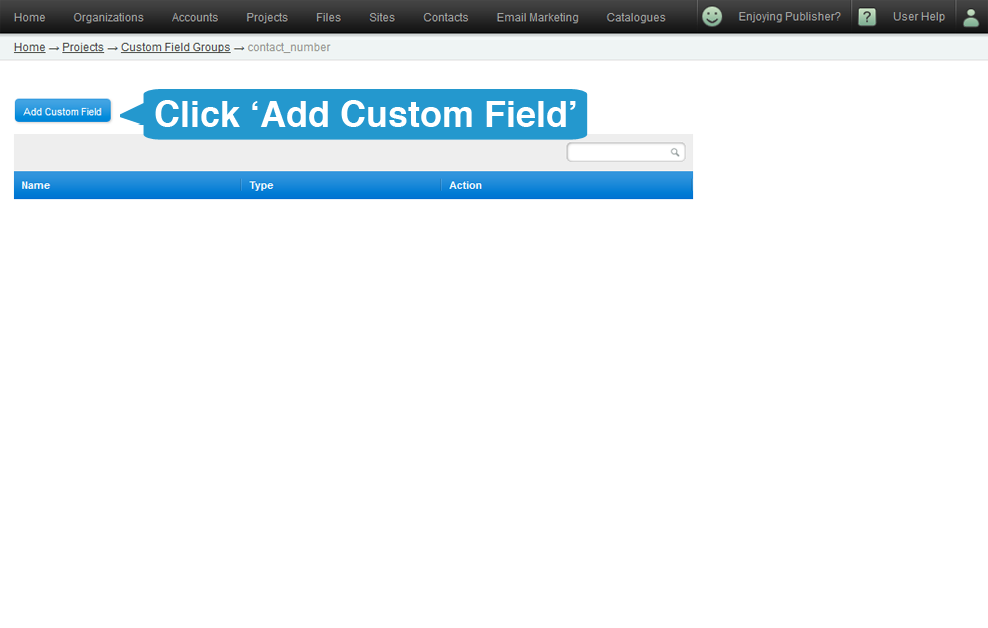
8. Choose a name for your custom field, a type from the drop-down list (could be one line, multiple lines, date, true/false) and click "Save".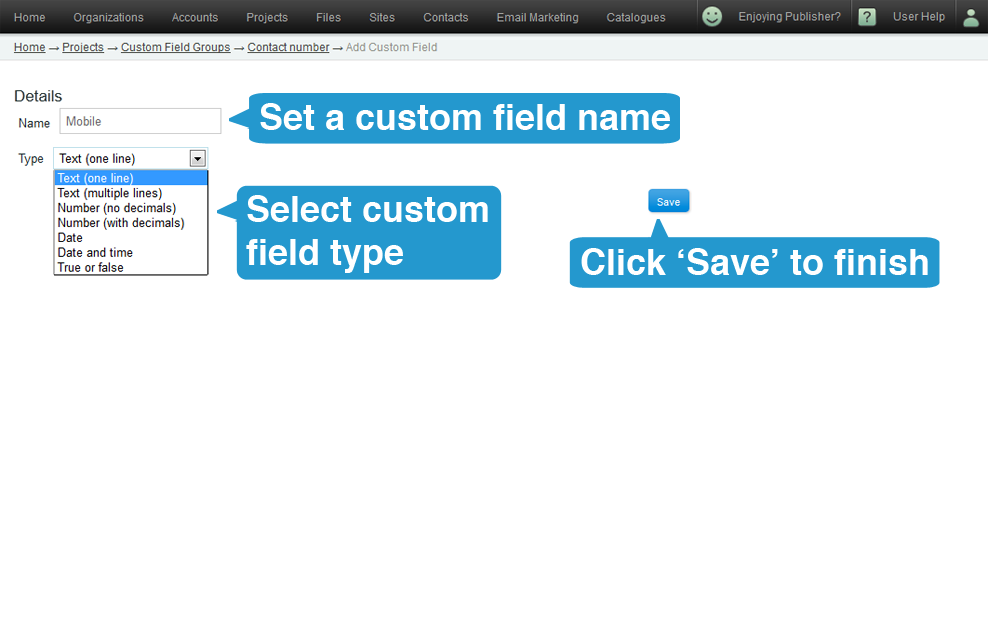
You have now created a custom field.