A Project is a folder system that allows you to manage and sort all files, images, contacts, websites and email campaigns for a common purpose or output.
Accounts are assigned to Projects to control access and accountability. Only an Administrator can add a project.
1. From your Dashboard, click on 'Projects'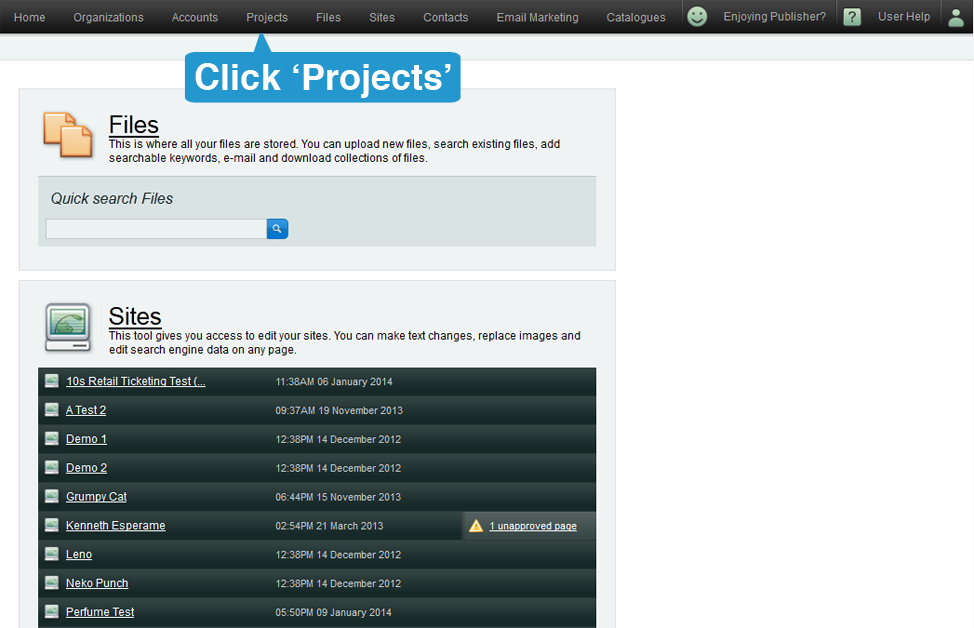
2. Once in the Projects section, click on the Add Project button.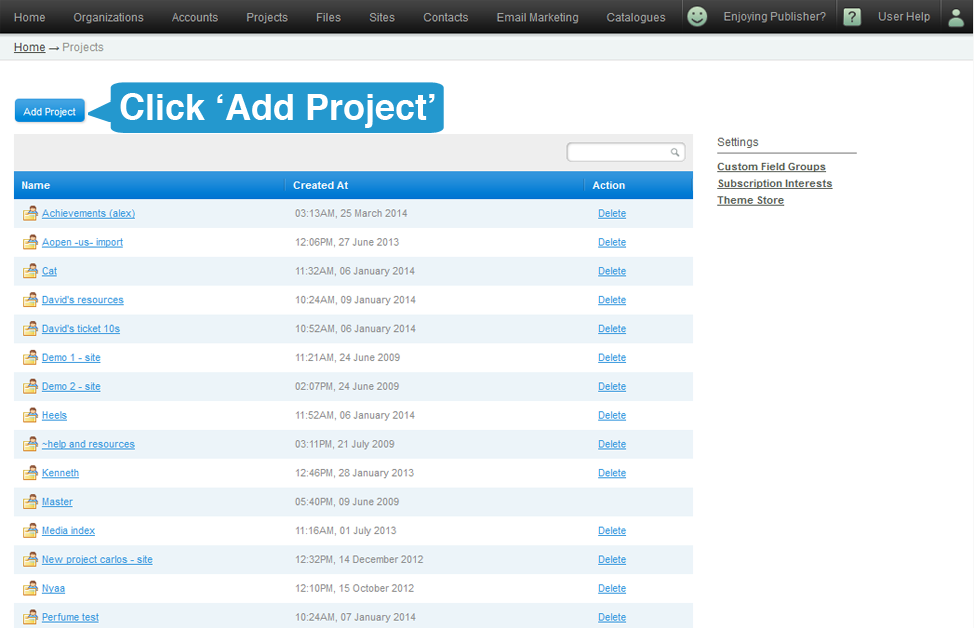
3. Give the Project a unique name. If the name you chose is already in use, you will receive a warning message requesting you select another name.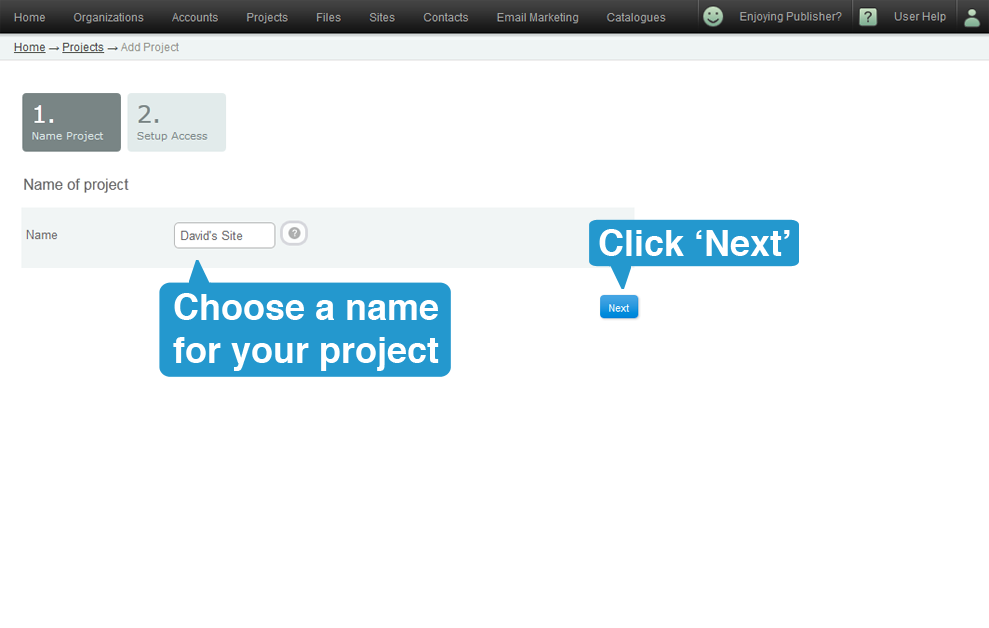
4. Assign accounts to the Project by:
a. Clicking the Add All button or...
b. Selecting account names from the scrolling list
You can also search by typing names into the Search field for a specific account(s), then just click and drag the account names from one box to another.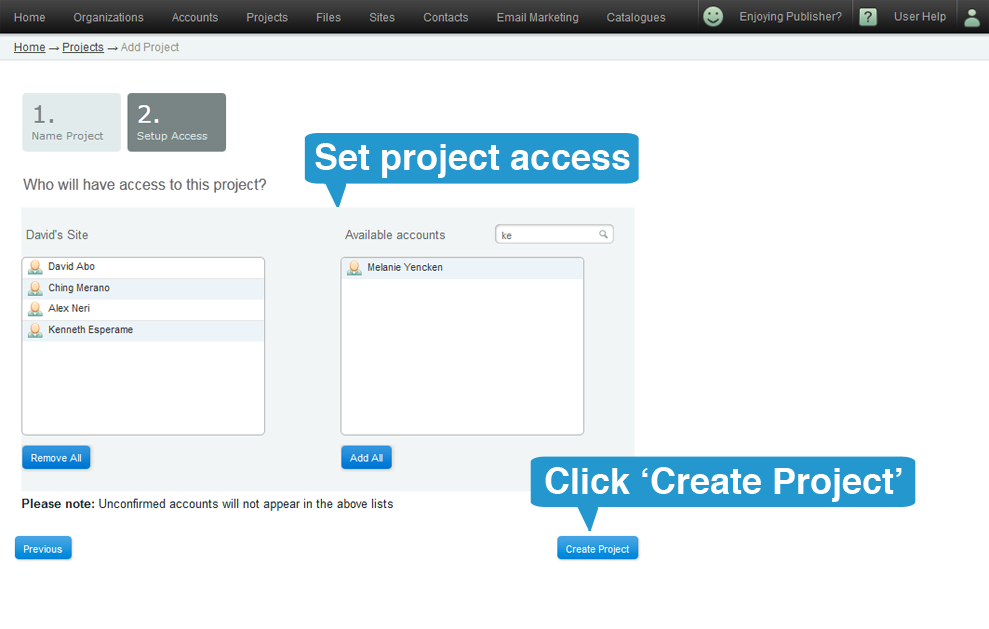 Then click on 'Create Project' button at the bottom right side of the screen to complete this section and add the project.
5. You will be taken back to the projects page where you will see your new project.