Creating a new account is an administrator-only function.
1. Click on the "Users" link.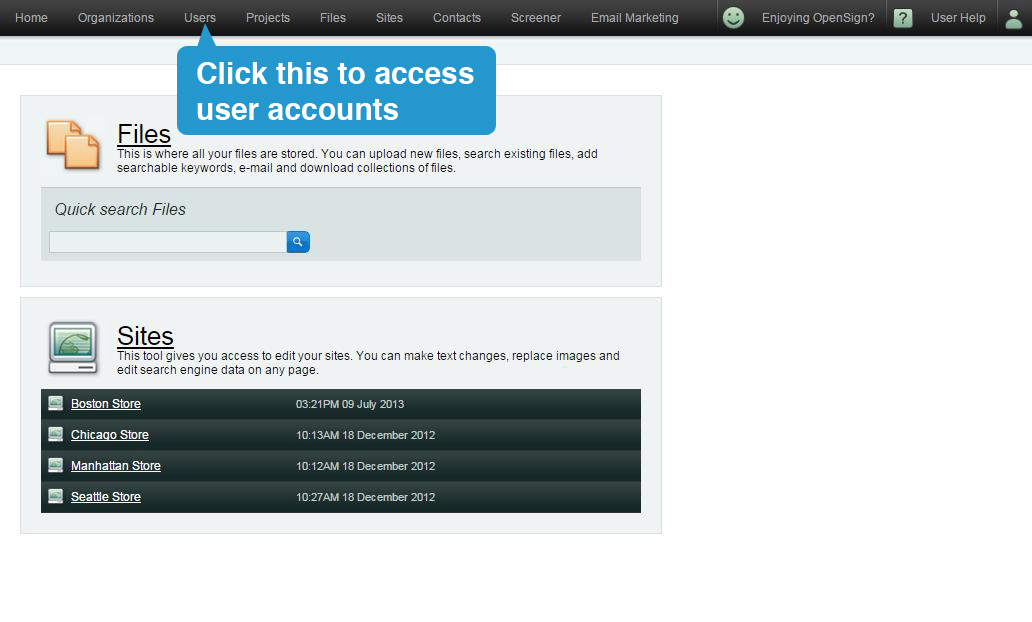
2. To add a new account to Publisher, start by clicking on the 'Add User' button.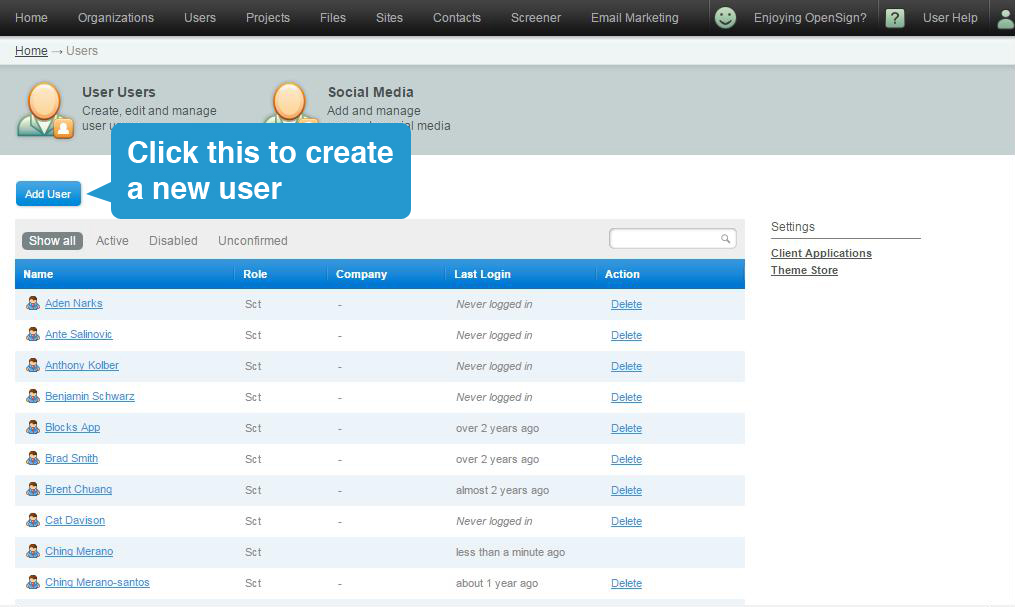
3. You will be presented with the form. Fill it up and click "Next" when you're done.
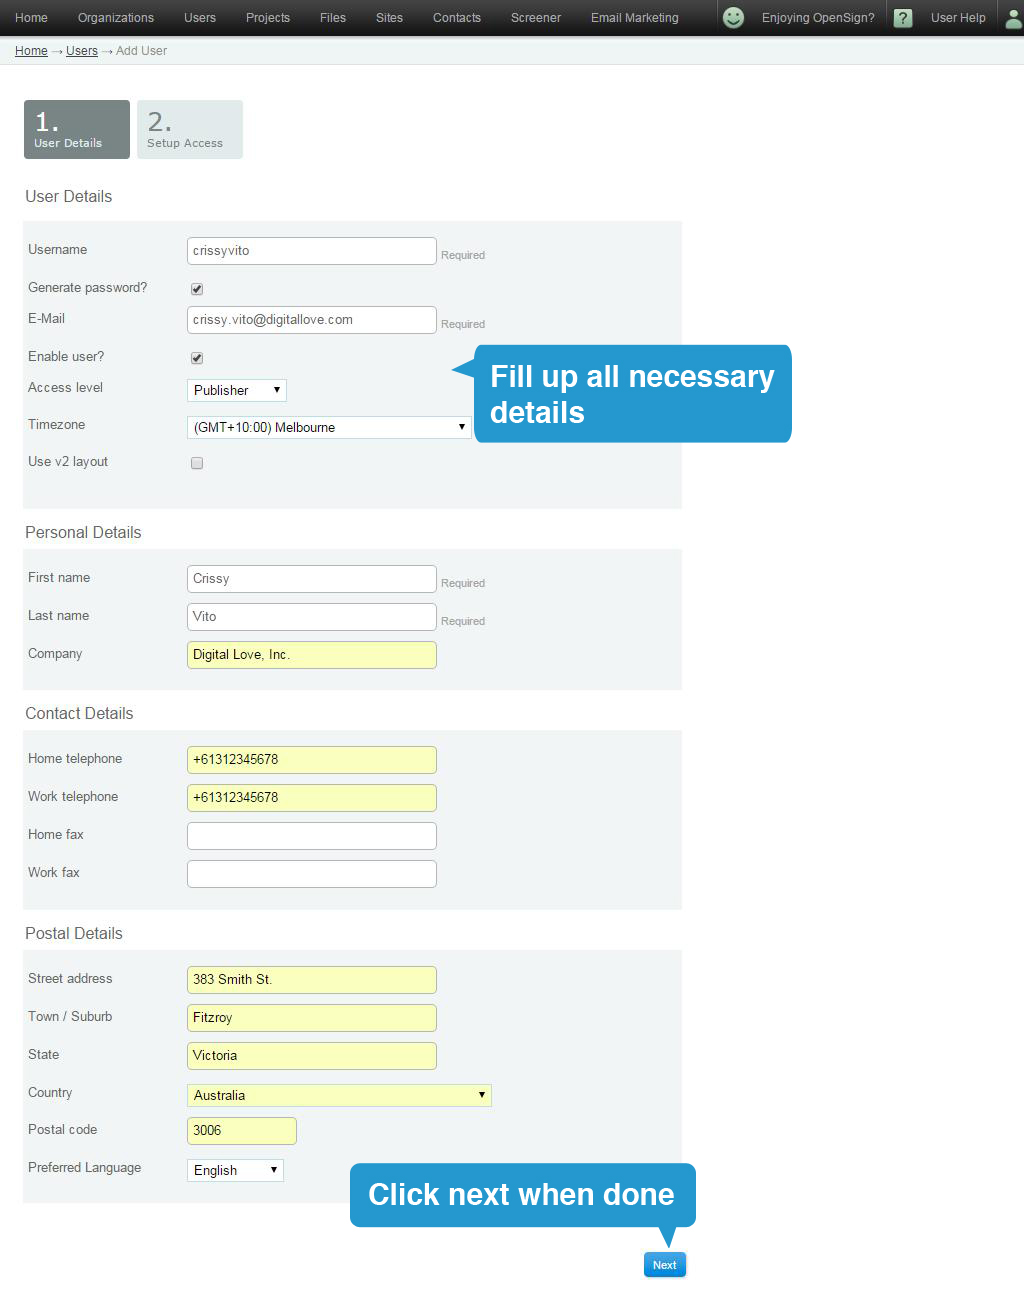
Account Details (mandatory)
- Username: This is the name your account will be called in Publisher and can be whatever you decide.
- Generate Password: This can be a Publisher or user generated password.
Email: Type the email address the account user will be using.- For Publisher to generate a password, leave the box ticked.
- To create a specific password, un-tick the box and type your password.
- Enable account?: Leave this ticked for the account to be live.
- Access Level: Select the account access level from the drop box.
Personal Details [mandatory]
- First name: Account holder's first name.
- Last name: Account holder's last name.
Contact Details [optional]
- Home telephone
- Work telephone
- Home fax
- Work fax
Postal Details [optional]
- Street address
- Town / Suburb
- State
- Country
- Postal code
4. Choose the projects this user needs access to by dragging the project name from right to left.

Provided you correctly filled in all the account and personal details, you will be returned to the main Accounts page where you will be able to find the new account under the status of 'Unconfirmed' (highlighted in orange).

4. The new account user will receive a confirmation email advising them of their username and password and a link to Publisher.
The new account user needs to then click on the link to activate their account.
The administrator cannot help any further until the account is activated.