Uploading files in Publisher is easy. Simply locate your files, choose a project folder to add to, add search tags and hit upload.
1. Let's start by going to the Files Section by clicking on the 'Files' menu.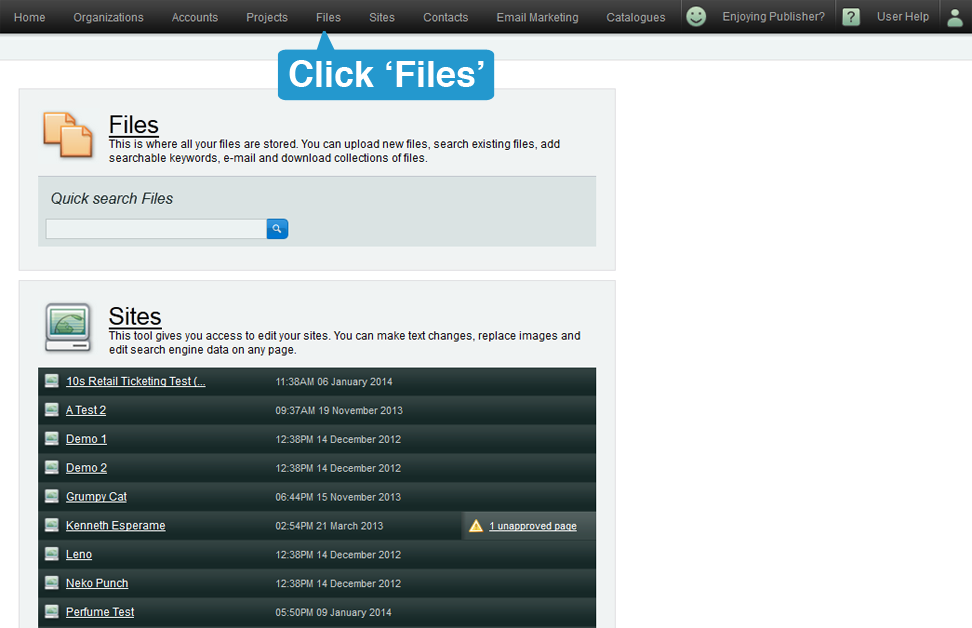
2. Click on the Upload icon located at the lower left side of the screen. This will bring you to the Upload File page. 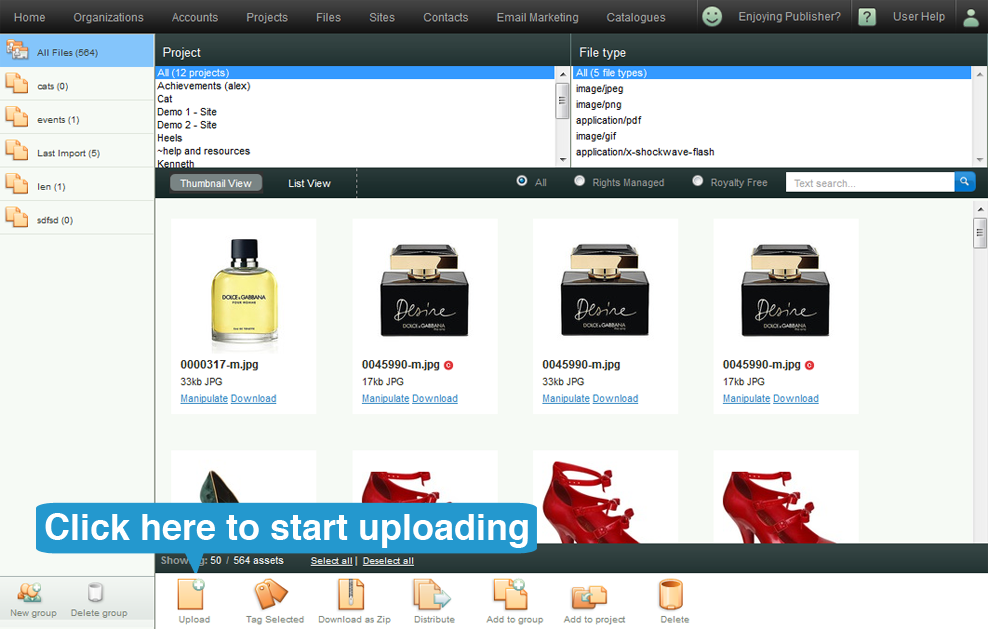
3. In the Upload File screen, choose the project where you want to upload the files into. Then click on 'Add a file'. A pop-up window will appear.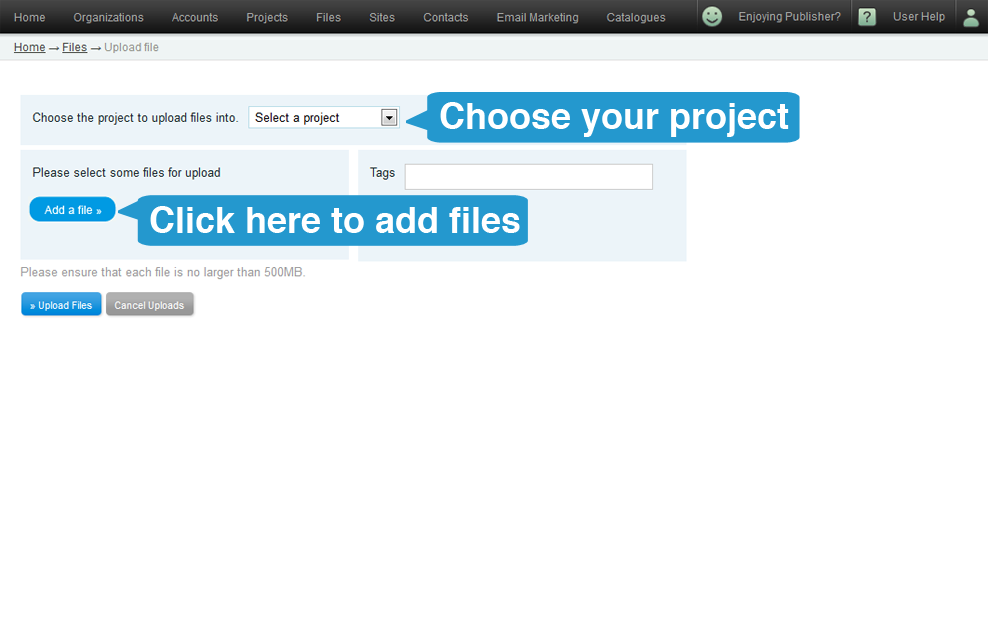
4. Search and click on the image(s) (Use Shift or Control keys for multiple choices) you want to upload, then click Open.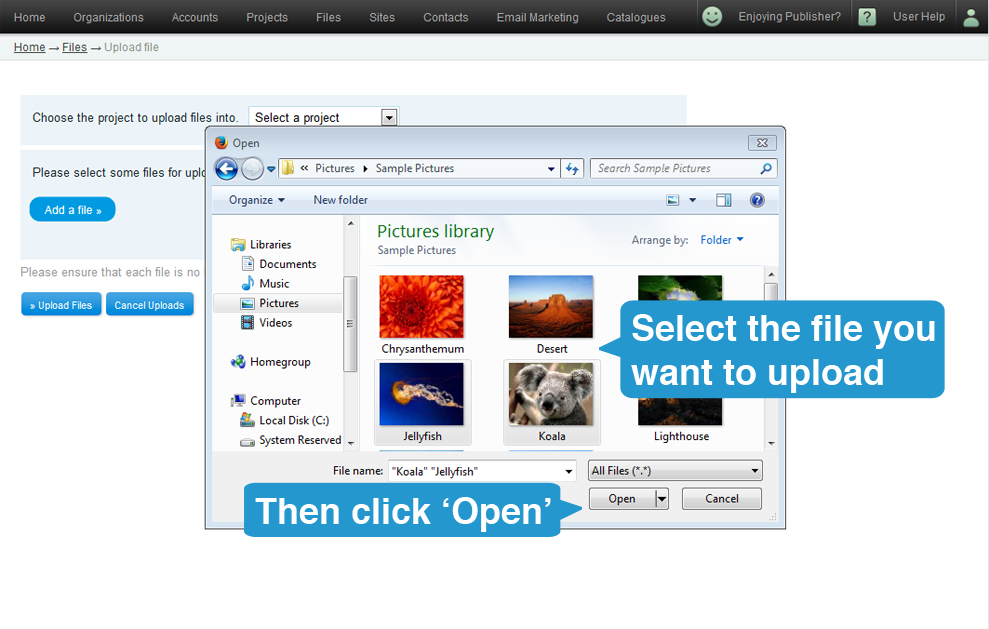
5. You may also add some tags on the file you uploaded. This will make it easier for searching. Afterwards, click on 'Upload Files' button. The speed of upload depends on the file sizes and the number of files you've chosen to upload.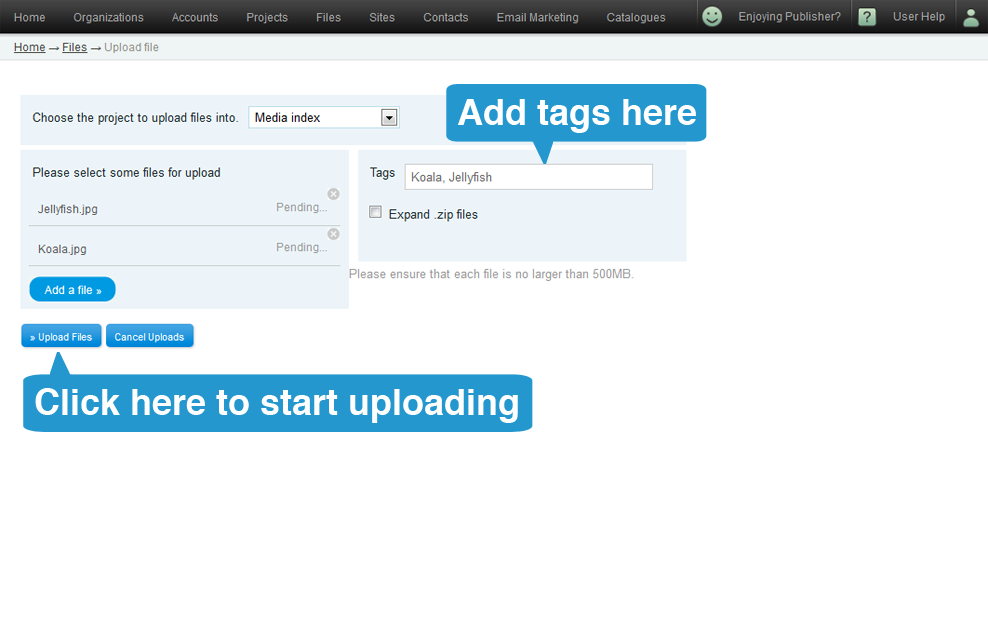
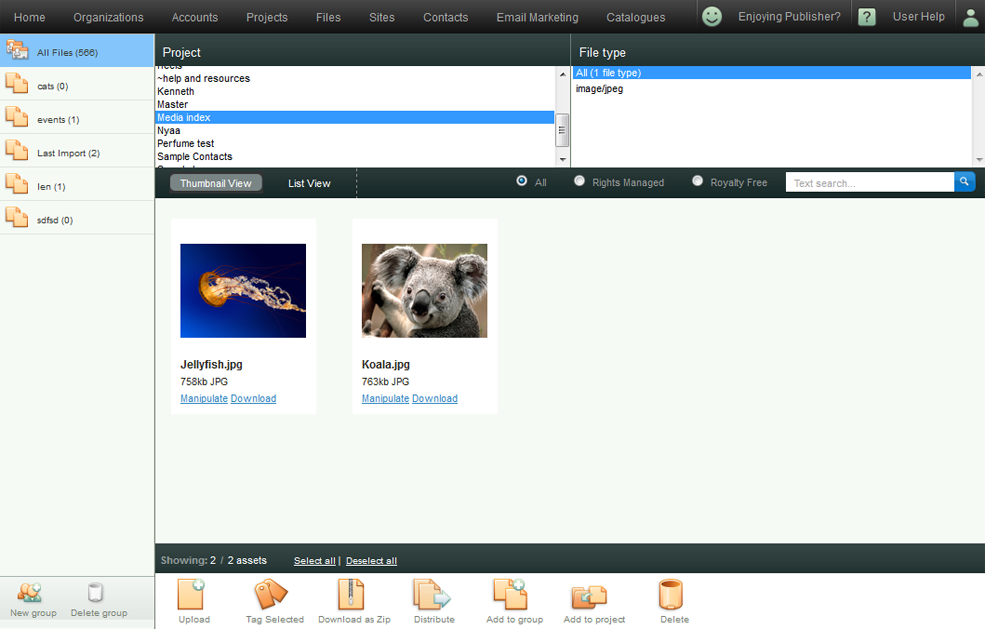
6. Once the upload is done, you may go back to the 'Files' page, and you'll see your newly uploaded file :)